

Before you begin
Make sure you have:- A terminal open in a code project
- A Git repository (recommended for the full workflow demonstration)
Step 1: Install and start opensre
sudo. The installer uses a writable directory on your PATH when it can. Otherwise, it uses ~/.local/bin and prints how to add that to PATH.
For platform requirements, see macOS, Linux, or Windows. For a container, see Docker.
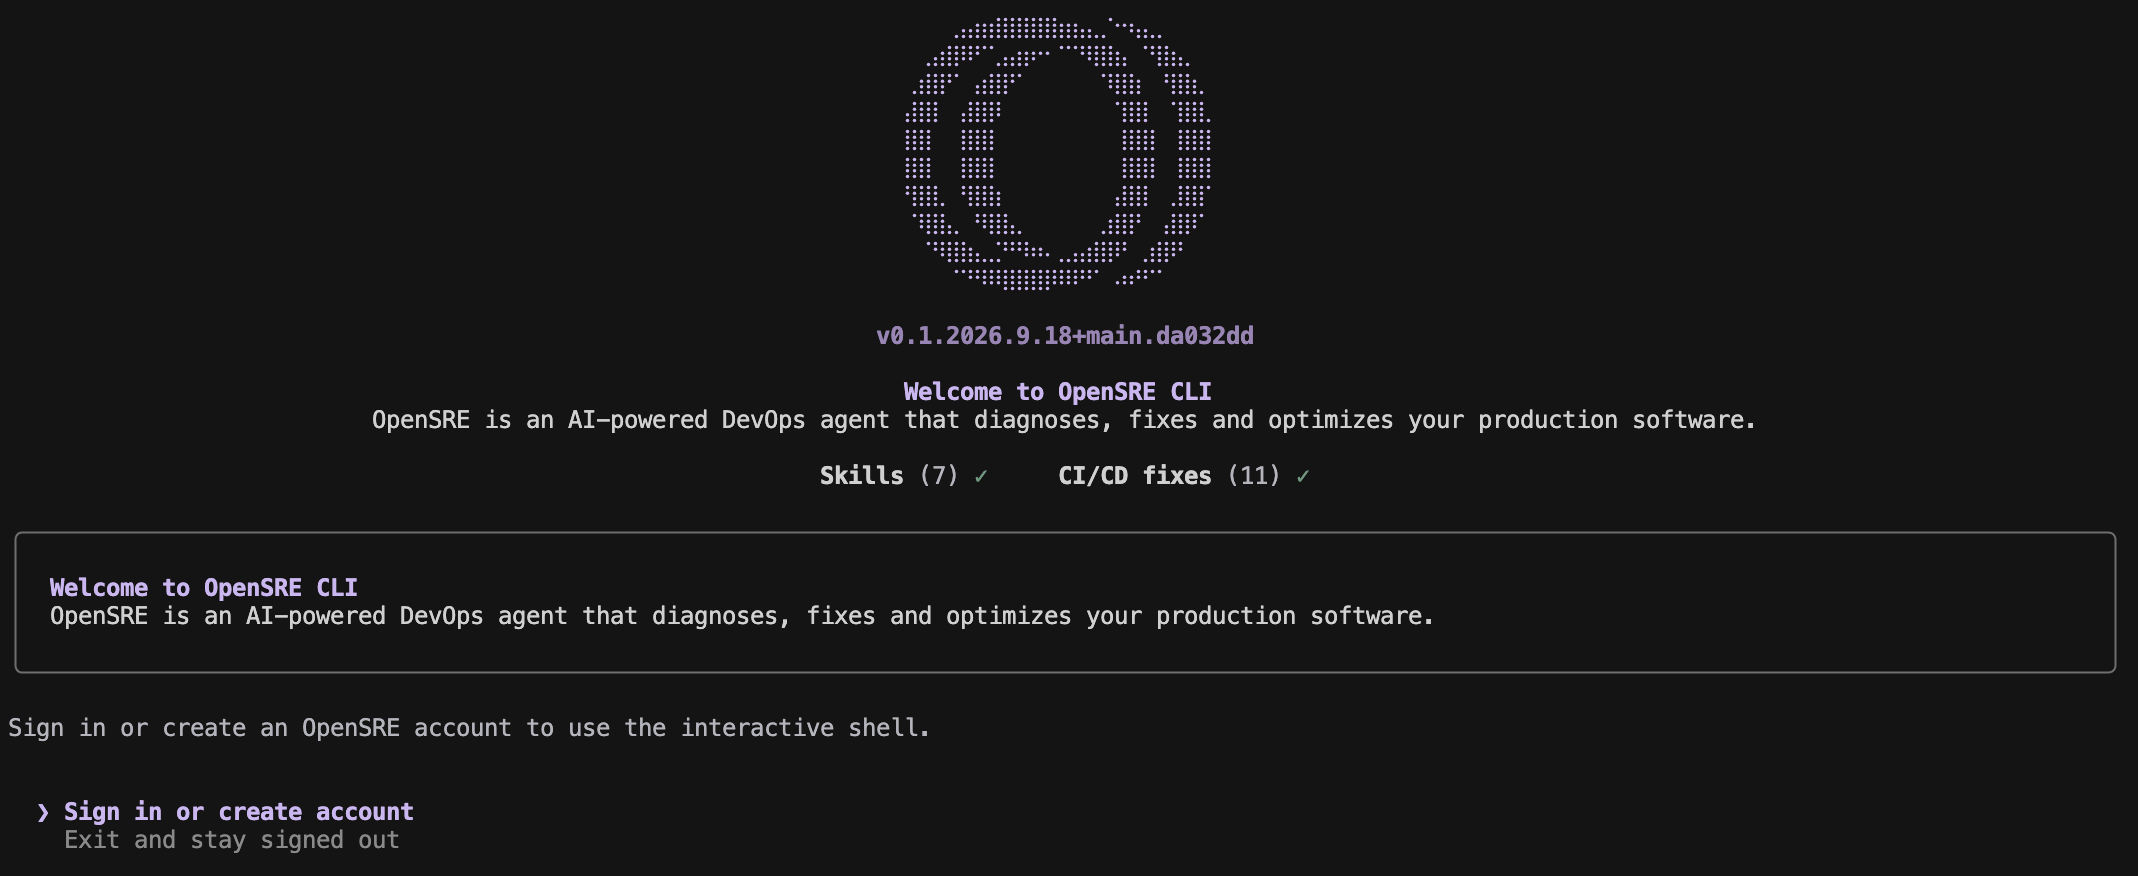
Step 2: Sign in
Choose Sign in or create account in the welcome screen. Your browser opens the OpenSRE sign-up page; sign in with email or another enabled provider. Signing in activates the hosted model, so you need no LLM key. Back in the terminal, OpenSRE confirms the session with the web app, opens the shell and offers the demos; choose E to go straight to the prompt. If the sign-in screen comes back instead,opensre account status names what is wrong with the session.
Step 3: Check your tools
Inside the shell:opensre (for example opensre integrations verify).
Step 4: Ask a first question
Start the shell and describe what’s going on in plain English:Where to connect tools
The full tool list lives under Integrations, not Install. Start at Integrations overview, then open each provider page for keys, permissions, and examples.Related
- Quickstart — install, sign in, pick a demo, and ask a question
- Deployment — gateway and hosted options beyond a single laptop